Difference between revisions of "LiteCommerce:WishList"
m |
m |
||
| Line 1: | Line 1: | ||
| + | {{LC2_disclaimer}}<br /><br /> | ||
{{LC_2.x}} | {{LC_2.x}} | ||
Latest revision as of 13:10, 31 May 2012
|
Contents
Introduction
LiteCommerce Wish List add-on module offers two features designed to improve customer experience at your store and attract new customers: it allows your existing customers to build and maintain wish lists of products for future purchase by themselves or others and to recommend selected products to their friends and relatives via e-mail.
Installing the Module
To successfully install Wish List add-on module your shopping system requires LiteCommerce shopping cart software version 2.1 to be installed at your online store.
Before starting installation of a new commercial module, you should upgrade your cart license to the new version which includes this new module.
The new 'License Certificate' is in 'My Licenses' section of your personal Helpdesk area:
- Click the 'Certificate' link opposite the corresponding license. The 'License certificate' window will appear.
- Copy the whole license text and paste into the 'License' window under the 'License' section in the cart admin area. The license text has two parts (customer information and license key). You should copy the full text of the licence (both parts).
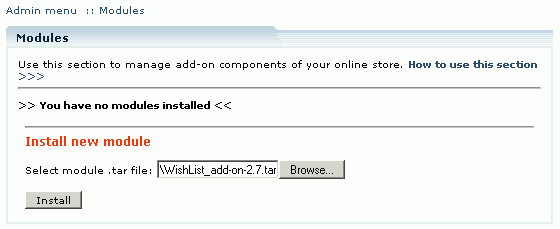
Select the 'Modules' section in the 'Settings' menu of the Administrator Zone. The list of currently installed modules will appear. To install a module (Wish List in our case) click on the 'Browse…' button, select the module's '.tar' file and click on the 'Install' button to add the module to your store setup.
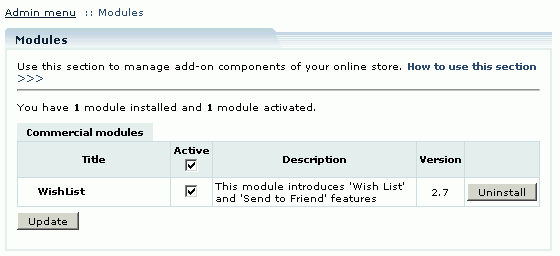
'Wish List' module will appear in the list of the installed modules; it will be activated automatically.
To deactivate the module, unselect the 'Active' check box against the module title and click on the 'Update' button. To completely uninstall the module, click on the 'Uninstall' button.
Managing Wish Lists
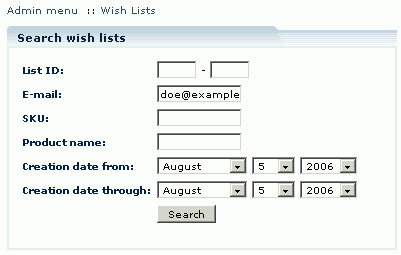
The store administrator can review and manage wish lists from the 'Wish lists' section of the 'Management' menu.
You can search the wish lists by their IDs, owner e-mails, wish list creation dates, or individual products' SKU or name. Specify the search options and click on the 'Search' button to see the wish lists that match your criteria. Empty search displays the complete set of customer wish lists.
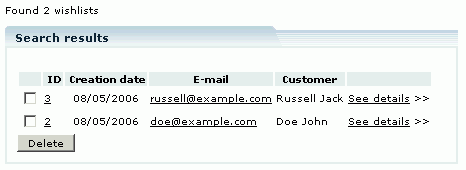
The store administrator has a possibility of deleting customer wish lists. If you want to delete a wish list, place a checkmark against the wish list owner's e-mail and click on the 'Delete' button, then in the pop-up box confirm the deletion.
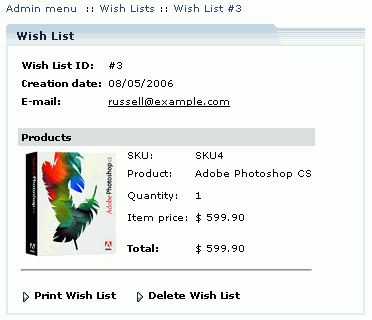
The store administrator can also view wish list contents. To see the wish list of a customer, click on the 'See details' link next to the e-mail of the wish list owner. While looking through the wish list, you can click on the 'Print Wish List' link to print it or the 'Delete Wish List' link to delete it. Clicking on a product name or thumbnail redirects you to the product details page.
Customizing E-mail Messages
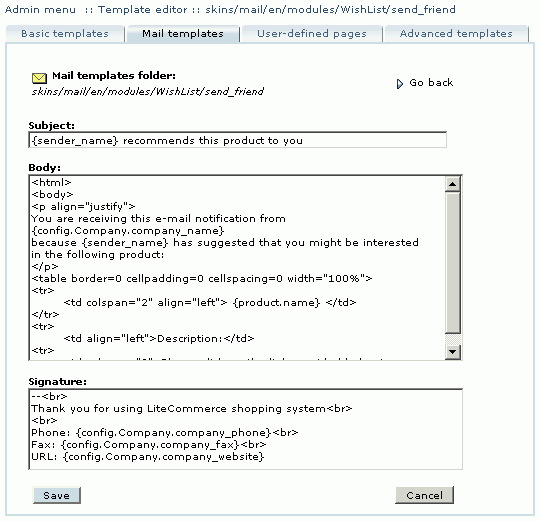
Wish List module uses two e-mail message templates: one for the wish list e-mail and another for the product recommendation e-mail. The templates are located in the skins/mail/en/modules/Wish List/ sub-folder of LiteCommerce installation and can be edited using Template editor. To modify a template, choose the 'Advanced templates' tab in the 'Template Editor' section of the 'Look&Feel' menu. In the inner box choose the 'E-mail templates' tab, and then proceed to 'Modules' -> 'Wish List'.
Choose the 'send' folder for the subject and body of the wish list e-mail message template and 'send_friend' for the product recommendation e-mail templates. Please consult LiteCommerce Reference Manual for detailed information on using template editor.
Customer Zone
'Add to wish list' Feature
'Add to wish list' feature is designed to help customers organize gift buying for holidays and special occasions as well as create shopping-idea lists for gifts they want to buy for others or for themselves in the future. Wish lists are maintained between customer visits, so they remain in the online store database even when the customers log off.
Wish List module adds a 'Wish list' tab to the customer front end in case the 2-column design is used for the Customer Front End.
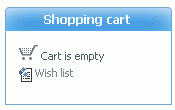
In case of the 3-column design, besides a 'Wish list' tab a 'Wish list' link is added to the 'Shopping cart' menu in the Customer Front End. Wish list section can be accessed from any page within the Customer Zone.
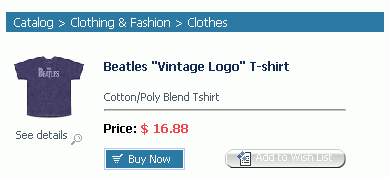
As you browse the store, you can add products to the wish list by clicking on the 'Add to wish list' button on the product details page or in the catalog.
To add a product with product options to Wish list, customers have to click on the 'Add to Wish List' button, after what they are redirected to the product details page. Here they select the specific product and need to click 'Add to Wish List' again.
The products which do not have any product options, are added to Wish list directly.
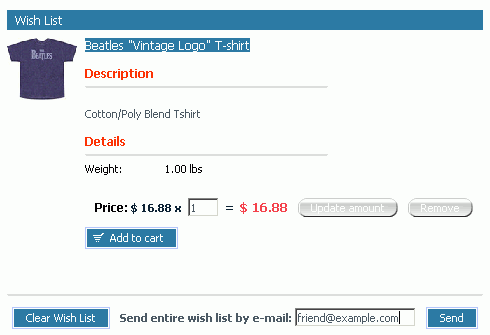
When the product is added to the wish list, your browser switches to the 'Wish list' section. Entering the section allows you to manage your wish list: add wish list items to the shopping cart, change product amounts, remove products from a wish list and e-mail the wish list to the address you provide.
- To add a product to the wish list, click on the 'Add to cart' button next to the product details.
- To change the product amount, enter the new amount in a corresponding field and click on 'Update'.
- To remove a product from the wish list, click on 'Delete' next to the product details.
- To empty the entire wish list, click on the 'Clear wish list' button.
- To send your wish list via e-mail, enter e-mail address in the 'Send entire wish list by e-mail' field and click on the 'Send' button.
Once the wish list item has been purchased, it is removed from the list. If the list contains multiple items of this product and you buy a lower number, only the difference will remain in the updated wish list.
'Send to friend' Feature
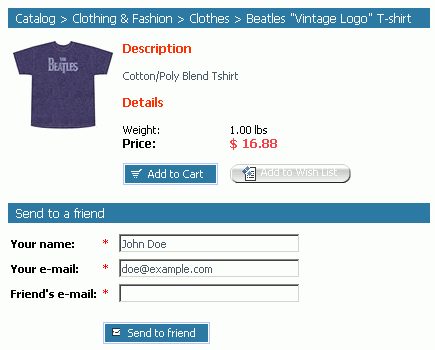
The store customer does not need to maintain a wish list if he only wants to share products and special offers he discovers at your store with his friends. He can send an e-mail recommendation right from the product details page.
To recommend a product to a friend, a customer has to perform the following actions:
- Log into his/her account.
- Select the details page of the given product.
- In the recommendation form provide his name and e-mail address as he wants them to appear in the recommendation e-mail, provide his friend's e-mail address. The sender's name and e-mail fields are filled in with data taken from the customer's profile.
- Click on the 'Send to friend' button.
