Difference between revisions of "X-Cart:Mailchimp Newsletters"
(Created page with '{{XC_4.4}} ==Enabling and configuring MailChimp== To begin using the module: # Enable <u>MailChimp</u> module (<u>Settings->Modules</u>). # [http://www.mailchimp.com/signup/?p…') |
|||
| Line 1: | Line 1: | ||
{{XC_4.4}} | {{XC_4.4}} | ||
| + | |||
| + | This is a default X-Cart MailChimp module, bundled with X-Cart. It does not require installation, you only need to enable and configure it. When the module is configured, customers on checkout see an offer to subscribe to a newsletter. All the other tasks (creating and managing lists and newsletter contents) are done on the MailChimp side. | ||
==Enabling and configuring MailChimp== | ==Enabling and configuring MailChimp== | ||
Revision as of 11:40, 10 November 2010
X-Cart 4.4or above
This is a default X-Cart MailChimp module, bundled with X-Cart. It does not require installation, you only need to enable and configure it. When the module is configured, customers on checkout see an offer to subscribe to a newsletter. All the other tasks (creating and managing lists and newsletter contents) are done on the MailChimp side.
Enabling and configuring MailChimp
To begin using the module:
- Enable MailChimp module (Settings->Modules).
- Create a MailChimp account.
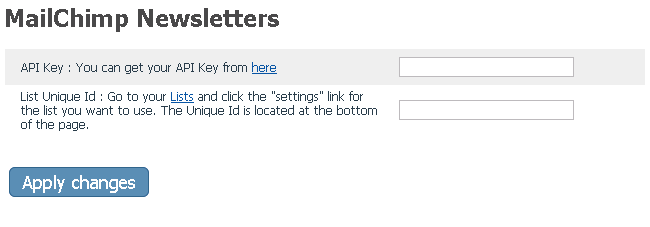
- Adjust the module settings via Settings->General settings/Modules options->MailChimp options:
- Click Apply changes.
