LiteCommerce:HTML Design Export and Import
This section describes how you can use your preferred web-editing tools to fully customize the design of your store. While you can always change the layout and design of your store using built-in Template Editor, sometimes it is more advantageous to be able to make those changes using your usual web-editing tool, WYSIWYG or plain HTML editor. LiteCommerce uses a template code wrapping engine to turn its templates into HTML pages suitable for editing in any HTML editor. It also adds specific instructions to editable areas to assist the store administrator.
The following is an outline of the process of customizing the store design by importing your store design into HTML:
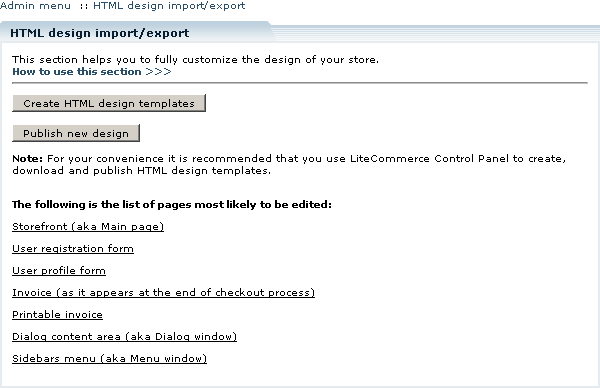
1. Click on the 'Design import/export' link in the 'Look & Feel' menu of the Administrator Zone. 'HTML design import/export' section will appear (Figure 3-68).
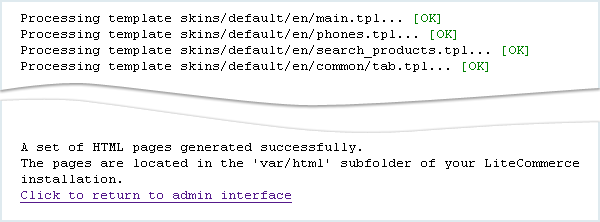
2. Click on the 'Create HTML design templates' button to export your store's current design skin into a set of HTML pages. The files will be saved to 'var/html/' sub-folder of your LiteCommerce software installation (for example, /u/me/public_html/store/var/html) (Figure 3-69).
3. After the Export procedure is complete, the 'HTML design import/export' page will contain a list of pages most likely to be edited (Figure 3-70).
4. Download the contents of 'var/html/' folder to your local computer. The set of resulting HTML files is suitable for editing in most HTML editors, including WYSIWYG editors such as MS FrontPage and Macromedia DreamWeaver.
5. Edit the files as necessary.
6. When you finish customizing the design, upload the files back into the same folder on the server.
7. Click on the 'Publish new design' button for your changes to take effect on your store (Figure 3-71).


