Draft:X-Cart:Pay with Amazon
Contents
Overview
Pay with Amazon
Getting started with Amazon Payments Advanced
- Register for Amazon Payments Advanced service.
Amazon Payments Advanced is an Amazon service that is separate from Checkout by Amazon (CBA) solution. That means you’ll need to go through a registration process, even if you have an existing CBA account.
You can register for Amazon Payments Advanced using this link: Get started now > - Login to Amazon's Seller Central at https://sellercentral.amazon.com to complete a few extra steps. If you’ve registered for multiple Amazon services, you’ll see a dropdown at the top of the page that lets you move between the different services.

- Create a test account to use in Sandbox mode.
Select "Amazon Payments Advanced (Sandbox View)" from the drop-down box at the top of the screen. Under "Integration" -> "Test Accounts", you can create test accounts for use in Sandbox mode. Sandbox mode can be used to make test purchases without processing an actual payment.
- Set up your account
Select "Amazon Payments Advanced (Production View)" from the drop-down box at the top of the screen. You’ll need to complete a tax interview and set up your bank account, even if you’ve already done so for an existing account. You’ll see a message and links to complete these steps on your home page when you switch to the Production View.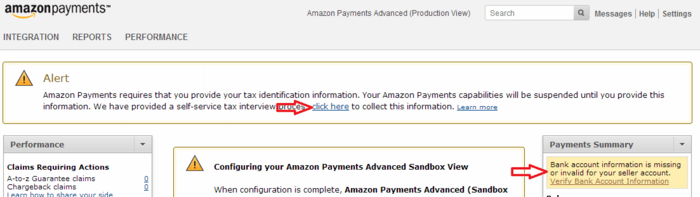
- Get your account keys. You will need to copy them from Seller Central and paste them into X-Cart on the Pay with Amazon module configuration page.
- Under "Settings" -> "Integration Settings":
- Your Merchant ID
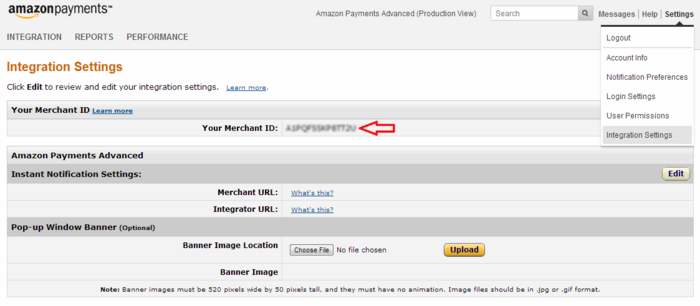
- Your Merchant ID
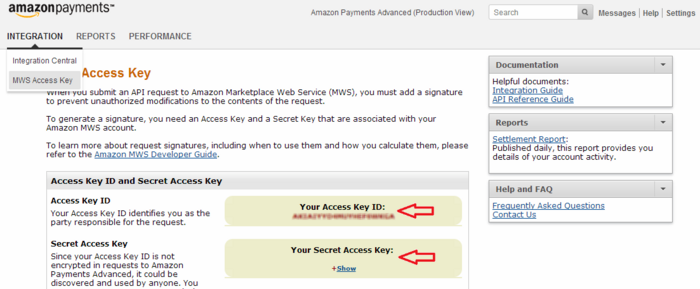
- Under "Integration" -> "MWS Access Key":
- Your Access Key ID
- Your Secret Access Key
- Under "Settings" -> "Integration Settings":


Getting started with X-Cart's Pay with Amazon module
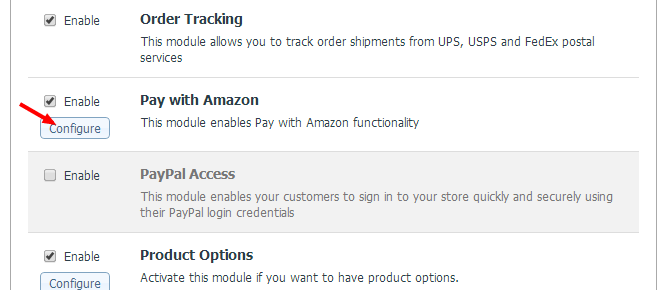
- Install X-Cart's Pay with Amazon module in your X-Cart store and make sure the module is enabled:
- Configure the module:
System requirements and installation
See Pay with Amazon module installation.
Activating and deactivating the module
If the module Pay with Amazon is installed, but not active, you can enable (activate) it.
To enable the module:
- Go to the Modules section of your store's Admin area (Settings menu->Modules). This opens the list of your store's installed modules.
- Locate the entry for the Pay with Amazon module and select the respective check box on the left.
- Click Apply changes. The module will be enabled.
It is possible to temporarily disable (deactivate) the installed Pay with Amazon module. Deactivation stops the module from operation, but it does not remove any settings you made to the module configuration nor clear any data that was generated during the period that the module was in operation. If you wish to completely remove all the data related to using the module, you need to uninstall it. See Uninstallation for more info.
To disable the module:
- Go to the Modules section of your store's Admin area (Settings menu->Modules).
- Locate the entry for the Pay with Amazon module and unselect the respective check box on the left.
- Click Apply changes. The module will be disabled.
Configuring the module
After the module has been installed and enabled, it needs to be configured.
To configure the module:
- Open to the module configuration section. Use one of the following methods:
- In the Modules section of your store's Admin area (Settings menu->Modules), locate the entry for 'Pay with Amazon' module and click the Configure link next to it:
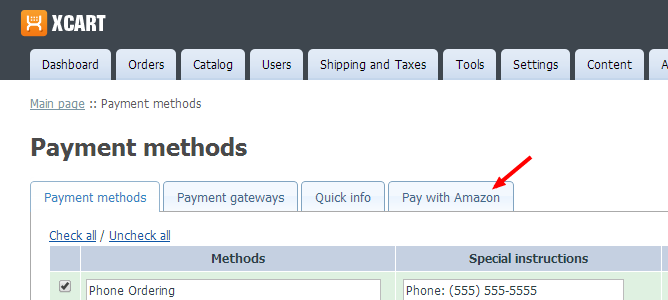
OR: - In the Payment methods section of your store's Admin area (Settings menu->Payment methods), click the 'Pay with Amazon' tab:
The Pay with Amazon module configuration section looks like the following: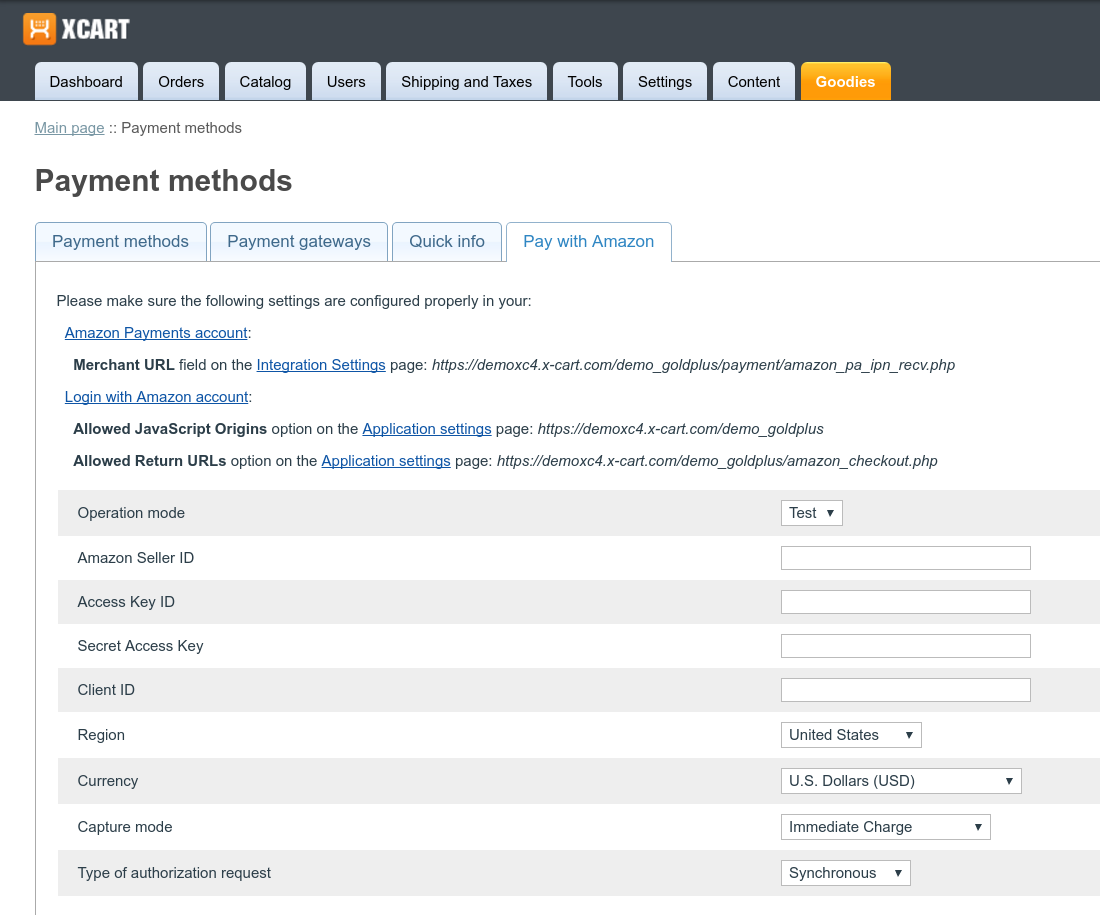
- In the Modules section of your store's Admin area (Settings menu->Modules), locate the entry for 'Pay with Amazon' module and click the Configure link next to it:


