X-Cart:Blog system in X-Cart 4
How to install WordPress in X-Cart
- Download the distribution package from the File Area section of your X-Cart Account. The file you need is named like x-cart-wordpress-x.y.zedition.tgz, where x, y and z are X-Cart version numbers and the edition portion of the filename is gold for the GOLD edition or goldplus for the GOLD PLUS edition. For example, if you need X-Cart v4.5.5 GOLD edition with WordPress, choose the file x-cart-wordpress-4.5.5gold.tgz.
- Unpack and install it as described in the manual at Installing X-Cart Using the Installation Wizard. When the X-Cart installation is complete, you will see this page:
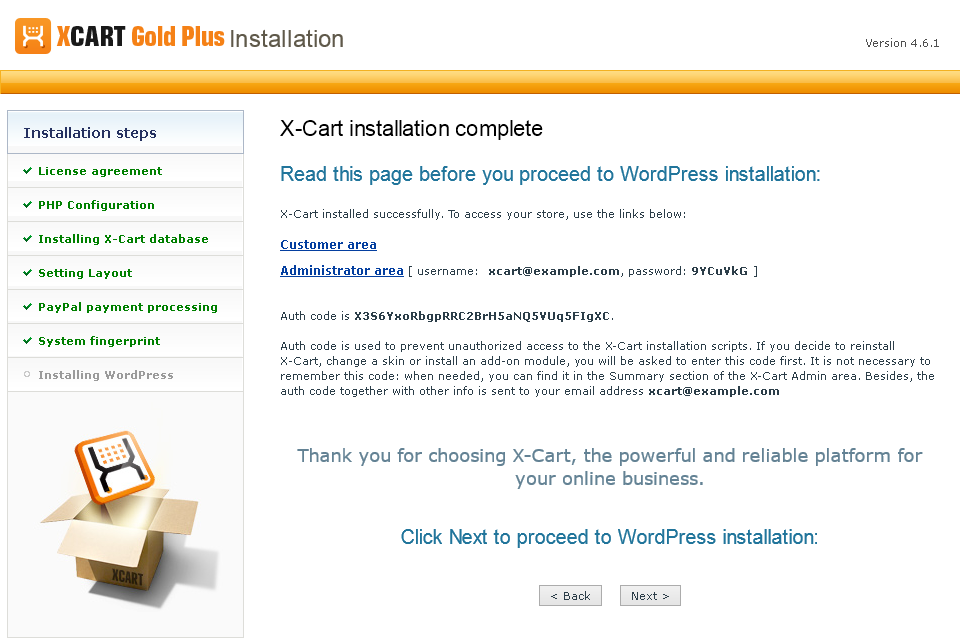
Click the Next button to proceed to WordPress installation. - Select the directory where you want to install WordPress. Enter the directory name or leave the default value "blog".
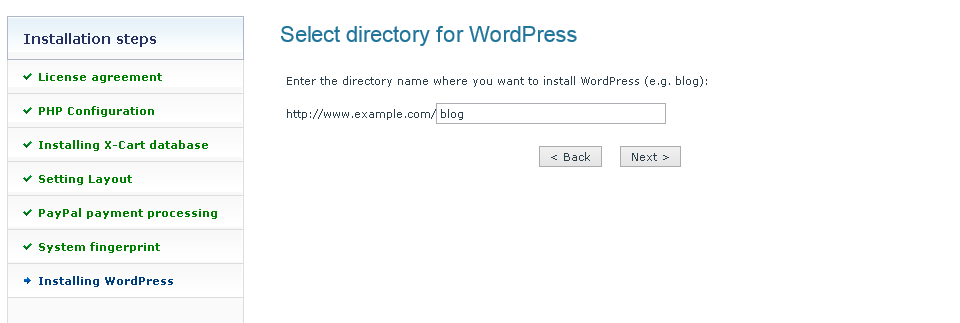
Click the Next button.
The installation script creates the directory and downloads WordPress package. Note: This process may take 1-2 minutes.Note: If the directory cannot be created automatically, the error message will be displayed. In this case you can create it manually and reload the page in your browser to continue.
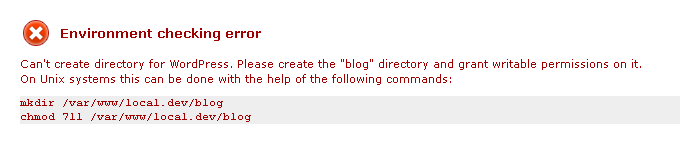
- After the package has been downloaded, the confirmation message is displayed:
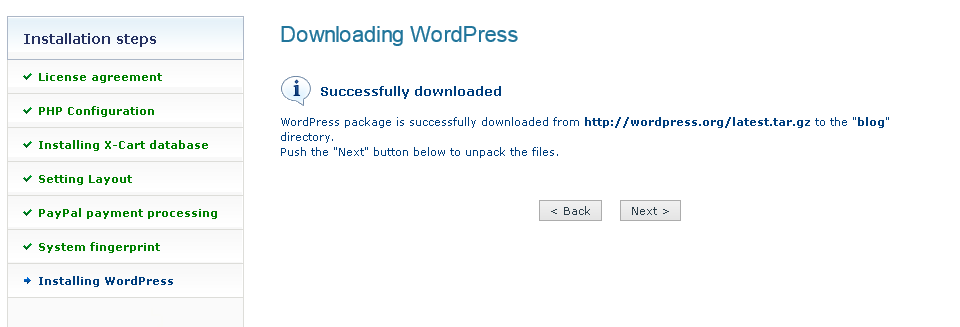
Click the Next button to continue.
The installation script unpacks the WordPress files. After the process is completed, the link to the WordPress installation script will be displayed: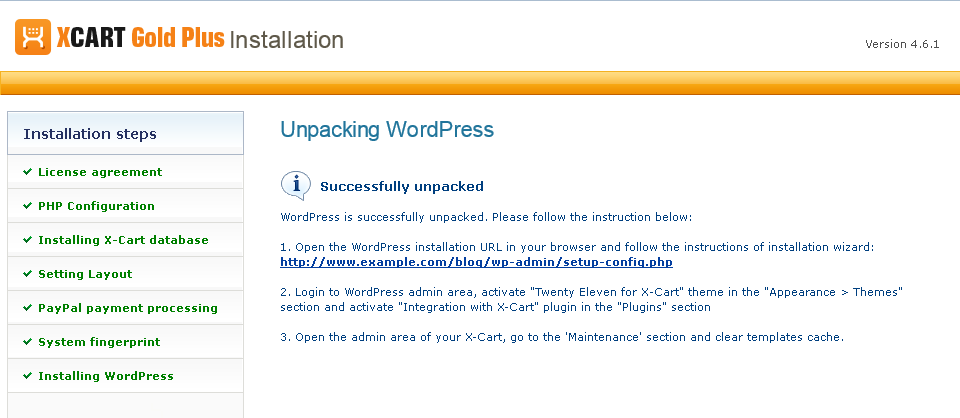
Click on the link that looks like this: httр://<domain>/<directory>/wp-admin/setup-config.php. - The WordPress page will be opened in a new tab:
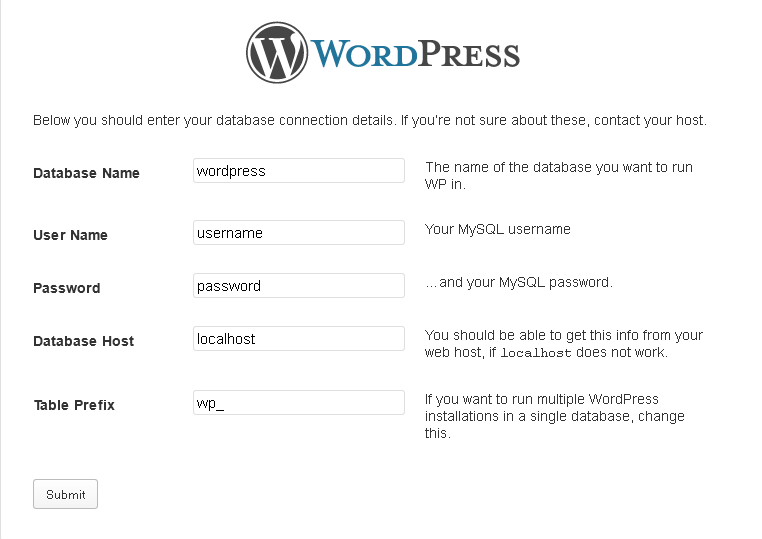
On this page you should specify the MySQL details of your WordPress database.Note: For increased security, it is recommended to create a separate MySQL user and MySQL database for your WordPress.Note: Do not use the same MySQL user for the two separate databases of your X-Cart and WordPress, because it will cause the database error "table doesn't exist". To resolve this issue, you can append a port number or socket to the MySQL host in the WordPress so that the host name differs from the one in your X-Cart by at least one character.
Click the Submit button to continue. - WordPress creates the wp-config.php file and writes the MySQL details into it. The confirmation message will be displayed as shown below:
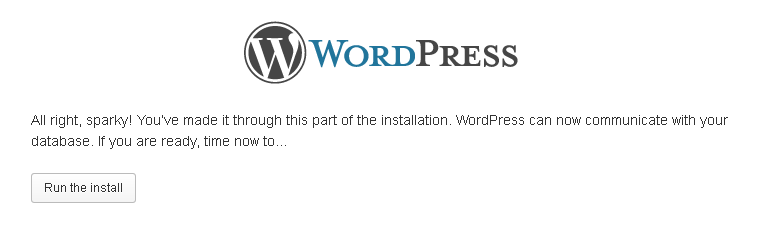
Click Run the install to continue.
If the wp-config.php file cannot be created automatically, you should create it manually in the directory of your WordPress and paste the content from the textarea into it: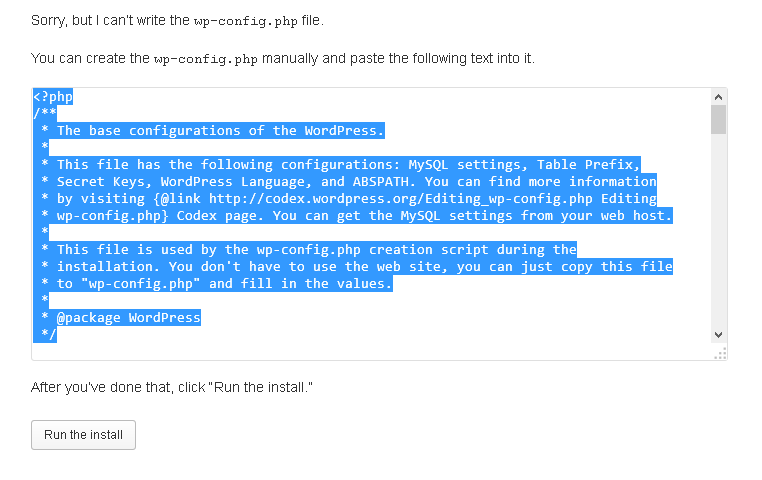
- On the next page you should enter the title of your blog, the e-mail and password of your WordPress admin user:
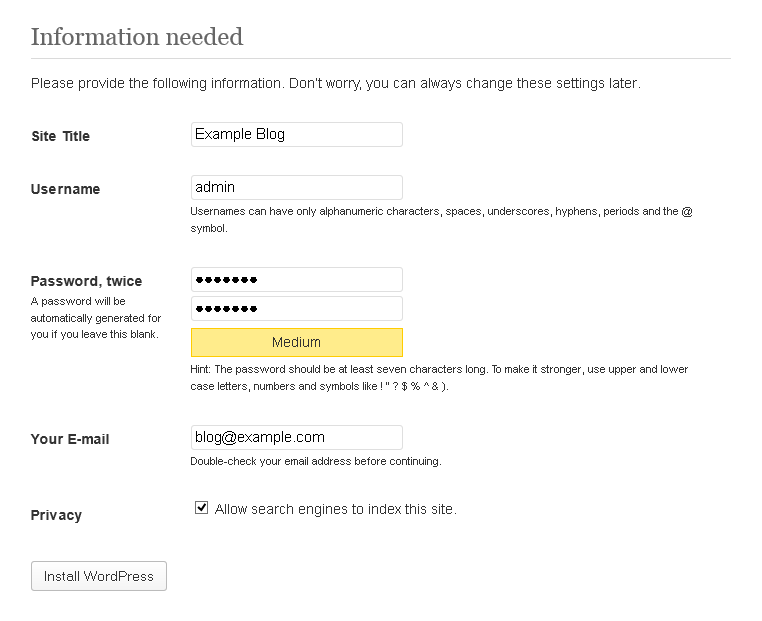
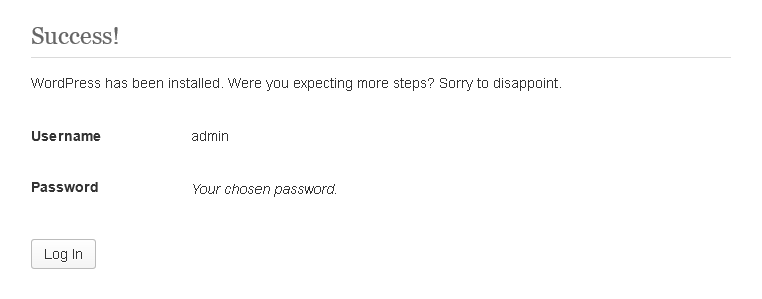
Click the Install WordPress button. - On the Success page click the Log In button to login to the WordPress admin area with the username and password entered on the previous page:
- In the WordPress admin area, open the Appearance > Themes section, find the Twenty Eleven for X-Cart theme and click on the Activate link under it:


- <img class="thumbborder" src="wp_xc_11.png" width="640" alt="" />
Open the Plugins section, find the Integration with X-Cart plugin and click on the Activate link under it:
- <img class="thumbborder" src="wp_xc_12.png" width="640" alt="" />
-
<img class="thumbborder" src="wp_xc_error_02.png" width="640" alt="" />
# WordPress in X-Cart [[[
<IfModule mod_rewrite.c>
RewriteEngine On
RewriteBase /
RewriteRule ^blog/index.php blog.php [L]
RewriteCond %{REQUEST_FILENAME} !-f
RewriteCond %{REQUEST_FILENAME} !-d
RewriteRule ^blog/(.*) blog.php [L]
</IfModule>
# /WordPress in X-Cart ]]]
- <img class="thumbborder" src="wp_xc_13.png" width="640" alt="" />