LiteCommerce:Managing Affiliate Plans
|
Contents
Adding an affiliate plan
You can have as many affiliate plans as you need. To create a new affiliate plan enter the title of a new plan, minimum commission payment and select a plan status, then click on the 'Add' button (Figure 4). You will see an updated list of plans and the new plan will automatically become visible in the partner registration form.
Modifying existing affiliate plan
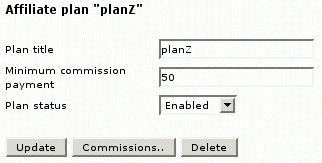
Existing affiliate plan can be modified at any time and its status can be changed to 'Enabled' or 'Disabled'. The following details can be changed right in the 'Affiliate plans' section: plan title and minimum commission payment. Click on the 'Update' button when you are done (Figure 5).
Deleting an affiliate plan
To delete an affiliate plan click on 'Delete' under plan details, you will get a warning message. Click on 'Delete' again (Figure 11).
Setting commissions
You can also define and change commissions for each plan. In the 'Affiliate plans' section click on 'Commissions…' button under the plan details to change the respective plan's commissions.
You can define commission rates either as a percentage of a product price (%) or a fixed value ($). Basic commission rates apply to all products in your store (Figure 6).
You can define different rates for categories and sub-categories of products or even individual products.
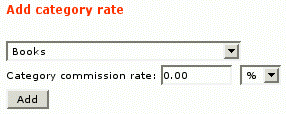
To define a different rate for a category, select the category from the list and enter the rate as a percentage (%) or a fixed value ($), then click on the 'Add' button (Figure 7).
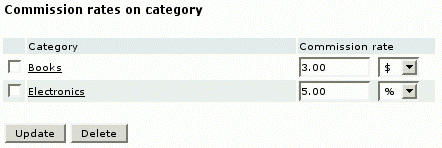
To change category rates, enter new values as a percentage (%) or a fixed value ($), then click on 'Update' (Figure 8).
To reassign the basic rate to the category, select the check box against the category in the list of individually rated categories, then click on the 'Delete' button. The category will be taken out of the list.
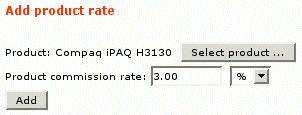
To define a different rate for a product, select the product and enter the rate as a percentage (%) or a fixed value ($), then click on the 'Add' button (Figure 9).
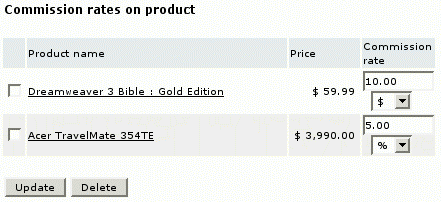
To change product rates, enter new values as a percentage (%) or a fixed value ($), then click on 'Update' (Figure 10).
To assign the basic rate to the product, select the check box against the product in the list of individually rated products, then click on the 'Delete' button. The product will be taken out of the list.
Only the most item-specific rate will apply to purchase (e.g.: if your basic rate is 10%, the rate on 'Books' category is 3$ and the rate on 'Dreamweaver 3 Bible: Gold Edition' is 10$ then all books except for the Dreamweaver Bible will have 3$ commission and the Dreamweaver Bible will have 10$ commission).

