LiteCommerce:Uploading to server using Windows Installer
|
LiteCommerce Installer is an auxiliary Windows-based application which automates the process of unpacking and uploading LiteCommerce software prior to running the online Installation Wizard.
To use LiteCommerce Installer, follow the instructions below:
- Click on the 'Start' button of your Windows system.
- Choose the 'Run' option.
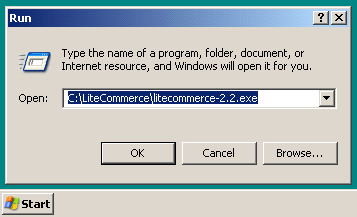
- Locate an executable file 'litecommerce-2.2.exe' provided to you by LiteCommerce. This is the LiteCommerce Installer file (Figure 1-1).
- Double-click on LiteCommerce Installer file to begin the installation.
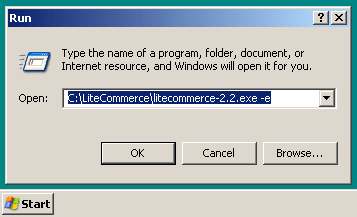
You can run LiteCommerce Installer in the extract only mode, if you want to install LiteCommerce software manually. In this mode, the Installer will extract the files into the 'LiteCommerce' sub-folder of the current directory and quit. To run the Installer in this mode (Figure 1-2):
- click on the 'Start' button of your Windows system,
- choose the 'Run' option,
- locate the Installer file,
- add the '-e' flag after the file name, and
- click on the 'Ok' button.
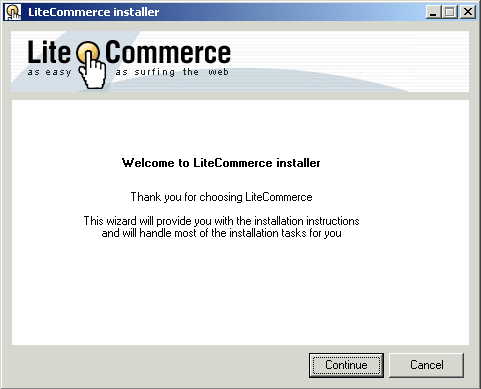
5. If you did not choose the extract only mode, LiteCommerce Installer will display the welcome message after start (Figure 1-3). Click on the 'Continue' button to proceed with the installation. You can click on the 'Cancel' button and exit the installation at any time.
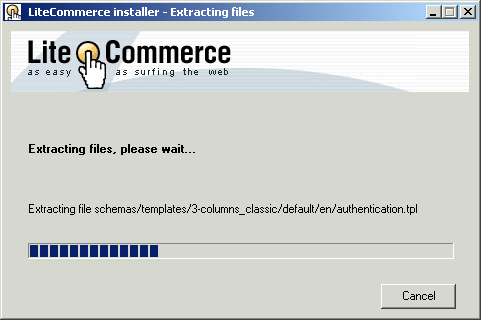
6. The installer will create a 'LiteCommerce' sub-folder in the current directory and extract the files there (Figure 1-4).
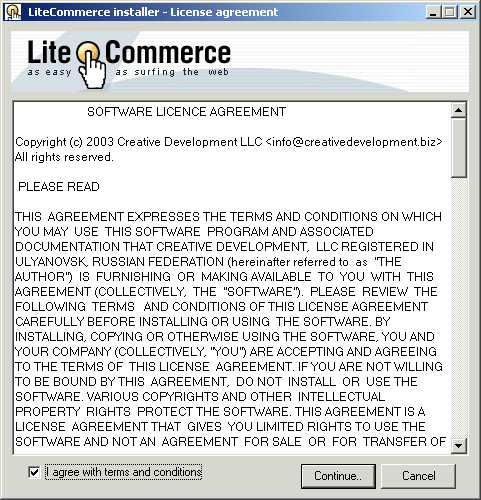
7. LiteCommerce License Agreement will be displayed in the next window. Read the License Agreement carefully. Select the checkbox to acknowledge acceptance of its terms and conditions and click on the 'Continue' button (Figure 1-5) to proceed with the installation.
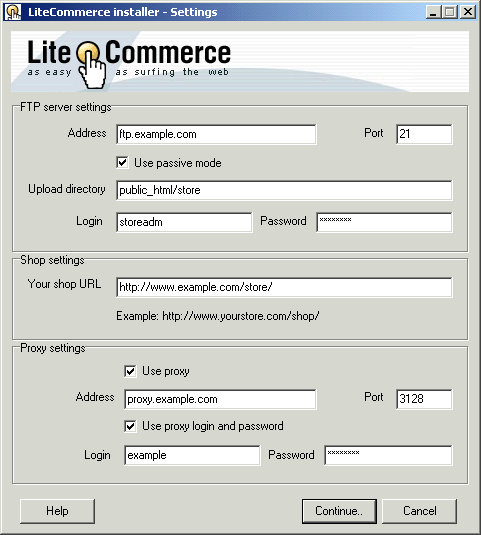
8. In the next screen (Figure 1-6) you are requested to provide FTP server settings to be used for uploading the LiteCommerce files to your web space. Specify your FTP server domain name or IP address, FTP port (port 21 is the default), login and password information in the corresponding fields. If you use proxy to access the FTP server, specify the proxy settings as well.
9. Type in 'Your shop URL' in the 'Shop settings' section. Consult the Glossary if you do not know what your shop URL will be.
10. Check that the information you specified is correct and click on the 'Continue' button.
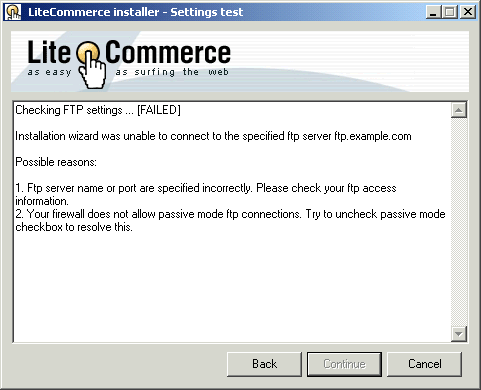
11. If the FTP settings you provided are incorrect, after you click on the 'Continue' button you will see an error message as shown in Figure 1-7. Click on the 'Back' button to change the settings.
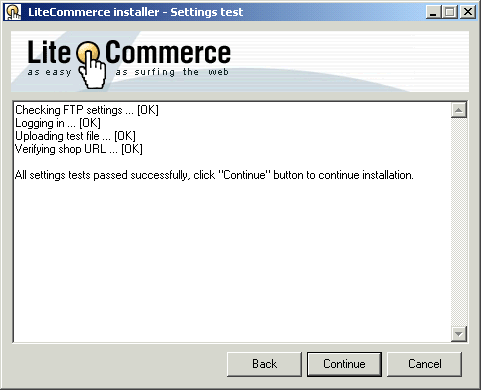
12. If your FTP settings are correct, the installer will produce the test report screen (Figure 1-8). Click on the 'Continue' button to proceed with the installation.
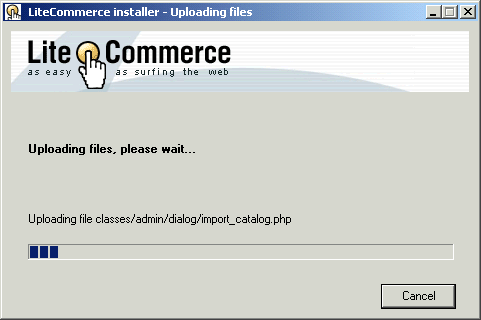
13. The installer uploads LiteCommerce files to the remote server, displaying the upload progress on the screen (Figure 1-9).
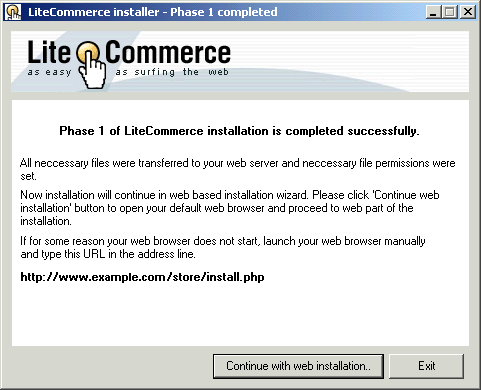
14. After the files are uploaded, you will see the message informing you that phase 1 of LiteCommerce installation has been completed (Figure 1-10). Click on the 'Continue with web installation' button to make the Installer launch LiteCommerce Installation Wizard in your default web browser. For instructions on completing the second phase of LiteCommerce installation, see the section "LiteCommerce Web Installation".
